
The Ultimate Guide to Installing ROS 2 Jazzy Jalisco
Step-by-step instructions for building a bulletproof ROS 2 workspace on Ubuntu 24.04.


As the tenth major release of the Robot Operating System (ROS 2) ecosystem, ROS 2 Jazzy Jalisco introduces an updated suite of software libraries, optimized middleware options, and enhanced tooling for modern robotic systems deployment. But before we can start spinning up nodes and simulating in Gazebo, we need to get our environment set up perfectly.
📊 System Requirement: ROS 2 Jazzy Jalisco explicitly targets and requires Ubuntu 24.04 LTS (Noble Numbat) for native binary compatibility.
Depending on your hardware, storage space, and workflow, there are three primary ways to set up your environment. Let’s break down the implications and benefits of each so you can choose the right path.
1. Windows Subsystem for Linux (WSL 2) 💻
Runs a full Ubuntu Linux environment directly inside Windows—no rebooting required.
Benefits: Highly convenient. You can use Windows apps side-by-side with your Linux terminal. It offers native integration with IDEs such as VS Code and is by far the safest option for beginners.
Demerits: Because it runs through a virtualization layer, passing through physical hardware (USB webcams, LiDARs) requires extra configuration. Heavy 3D simulations may suffer a slight performance penalty.
2. Native Installation (Single OS or Dual-Boot) 🚀
Installing Ubuntu 24.04 directly onto your computer’s internal hard drive.
Benefits: Maximum performance and stability. Out-of-the-box access to your GPU, Wi-Fi, and USB ports. This is the gold standard for heavy 3D simulation and hardware integration.
Demerits: Dual-booting requires partitioning your drive (which carries a small risk to your Windows OS if done wrong) and requires rebooting to switch OSs.
3. Portable External Drive (The “Space-Impaired” Hack) 💾
Installing Ubuntu natively onto an external Solid State Drive (SSD).
Benefits: Bypasses your internal drive entirely, keeping Windows 100% safe. Highly portable—plug it into any computer, boot from USB, and get full native hardware performance.
Demerits: You must buy a high-speed external SSD (like a Samsung T7). Standard thumb drives will crash.
Part 1: Installing Ubuntu 24.04 on WSL
(Skip to Part 2 if you are using Native Linux or an External SSD).
If you have an older version of Ubuntu on WSL (like 20.04 or 22.04), you cannot easily install Jazzy binaries. Let’s get 24.04.
Open PowerShell in Admin Mode.
Run the following command to install WSL:
wsl --installTroubleshooting Note: If you get an error code like Wsl/InstallDistro/Service/RegisterDistro/CreateVm/HCS/HCS_E_SERVICE_NOT_AVAILABLE, your Windows Virtualization is disabled. Open Task Manager → Performance → CPU. If “Virtualization” says disabled, you’ll need to enable VT-x/AMD-V in your computer’s BIOS/UEFI settings.
Resources to guide you:
📖 Microsoft Support Guide on Enabling Virtualization
📺How to Enable Virtualization on Windows 11/10
Check available Linux versions to confirm 24.04 is listed:
wsl --list --onlineInstall the specific Ubuntu version required for Jazzy:
wsl --install -d Ubuntu-24.04Setup: A new terminal window will open. Create your username and password when prompted.
Verify your installation version:
wsl -l -vPart 2: Install ROS 2 Jazzy (The Main Event)
Note: These commands are identical whether you are running WSL, dual-boot, or an external SSD—as long as you are on Ubuntu 24.04.
1. Set Locale
Ensure your environment is set to UTF-8:
locale # Check for UTF-8
sudo apt update && sudo apt install locales
sudo locale-gen en_US en_US.UTF-8
sudo update-locale LC_ALL=en_US.UTF-8 LANG=en_US.UTF-8
export LANG=en_US.UTF-8
locale # Verify settings
2. Enable Repositories
Make sure the Ubuntu Universe repository is enabled:
sudo apt install software-properties-common
sudo add-apt-repository universe
3. Add ROS 2 GPG Key
sudo apt update && sudo apt install curl -y
sudo curl -sSL https://raw.githubusercontent.com/ros/rosdistro/master/ros.key -o /usr/share/keyrings/ros-archive-keyring.gpg
4. Add Repository to Sources
echo "deb [arch=$(dpkg --print-architecture) signed-by=/usr/share/keyrings/ros-archive-keyring.gpg] http://packages.ros.org/ros2/ubuntu $(. /etc/os-release && echo $UBUNTU_CODENAME) main" | sudo tee /etc/apt/sources.list.d/ros2.list > /dev/null5. Install ROS 2 Jazzy
Update your package lists and install. (Note: If you are building a headless robot and don’t need GUI tools, you can swap ros-jazzy-desktop for ros-jazzy-ros-base).
sudo apt update && sudo apt upgrade -y
sudo apt install ros-jazzy-desktop
6. Source the Setup Script
Automate the environment sourcing so you don’t have to do it manually every time you open a new terminal. This permanently fixes the dreaded “ros2 command not found” error.
echo "source /opt/ros/jazzy/setup.bash" >> ~/.bashrc
source ~/.bashrc
7. Check your work
ros2If you see the ROS 2 command-line interface help menu, you’re in! 🎊
Part 3: Supercharge your Workflow (VS Code & GitHub)
To streamline writing and editing code, you’ll want to connect VS Code to your environment.
Install VS Code Extensions: If using WSL, install the WSL extension on your Windows installation of VS Code.
Open your environment: Open your Ubuntu terminal, navigate to your desired workspace folder, and run:
code .This launches VS Code directly connected to your Ubuntu workspace!
Setup GitHub Credentials:
git config --global user.name "Your Name"
git config --global user.email "youremail@gmail.com"
Part 4: Verification (Let’s run some nodes!)
Let’s run the classic demo listener and talker to confirm everything works.
Terminal 1 (Talker):
ros2 run demo_nodes_cpp talkerYou should see a C++ node publishing ‘Hello World’ messages.
Terminal 2 (Listener):
ros2 run demo_nodes_py listenerYou should see a Python node confirming it “heard” the messages.
The Ultimate GUI Test: Turtlesim 🐢
Update your local package index and install the Turtlesim package via the Advanced Package Tool (apt):
sudo apt update
sudo apt install ros-jazzy-turtlesim
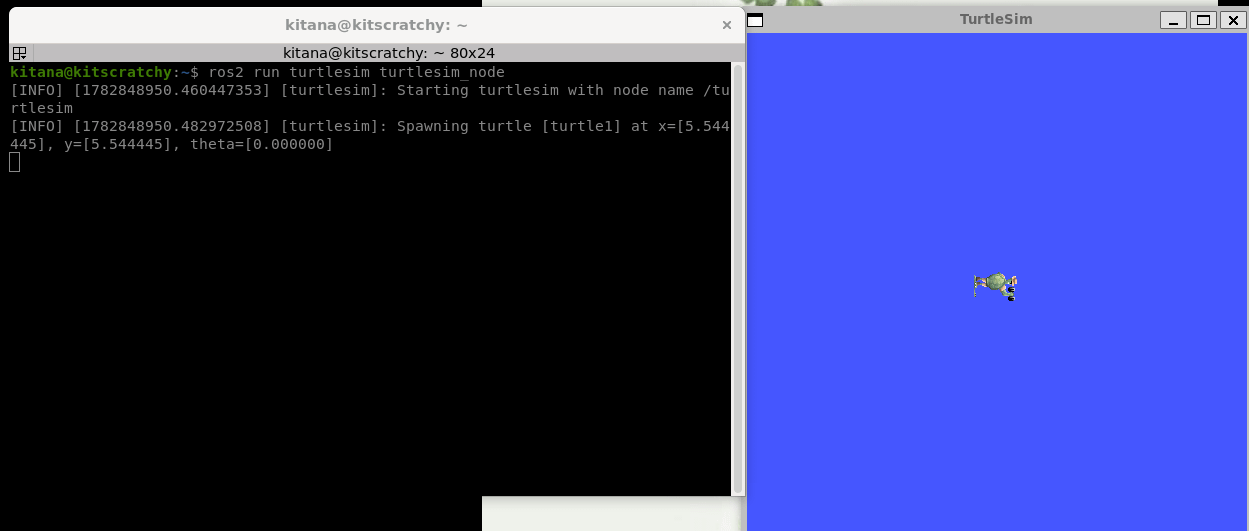
ros2 run turtlesim turtlesim_node
You should see something like this:
In a separate terminal, run the teleop node to drive the turtle with your keyboard:
ros2 run turtlesim turtle_teleop_key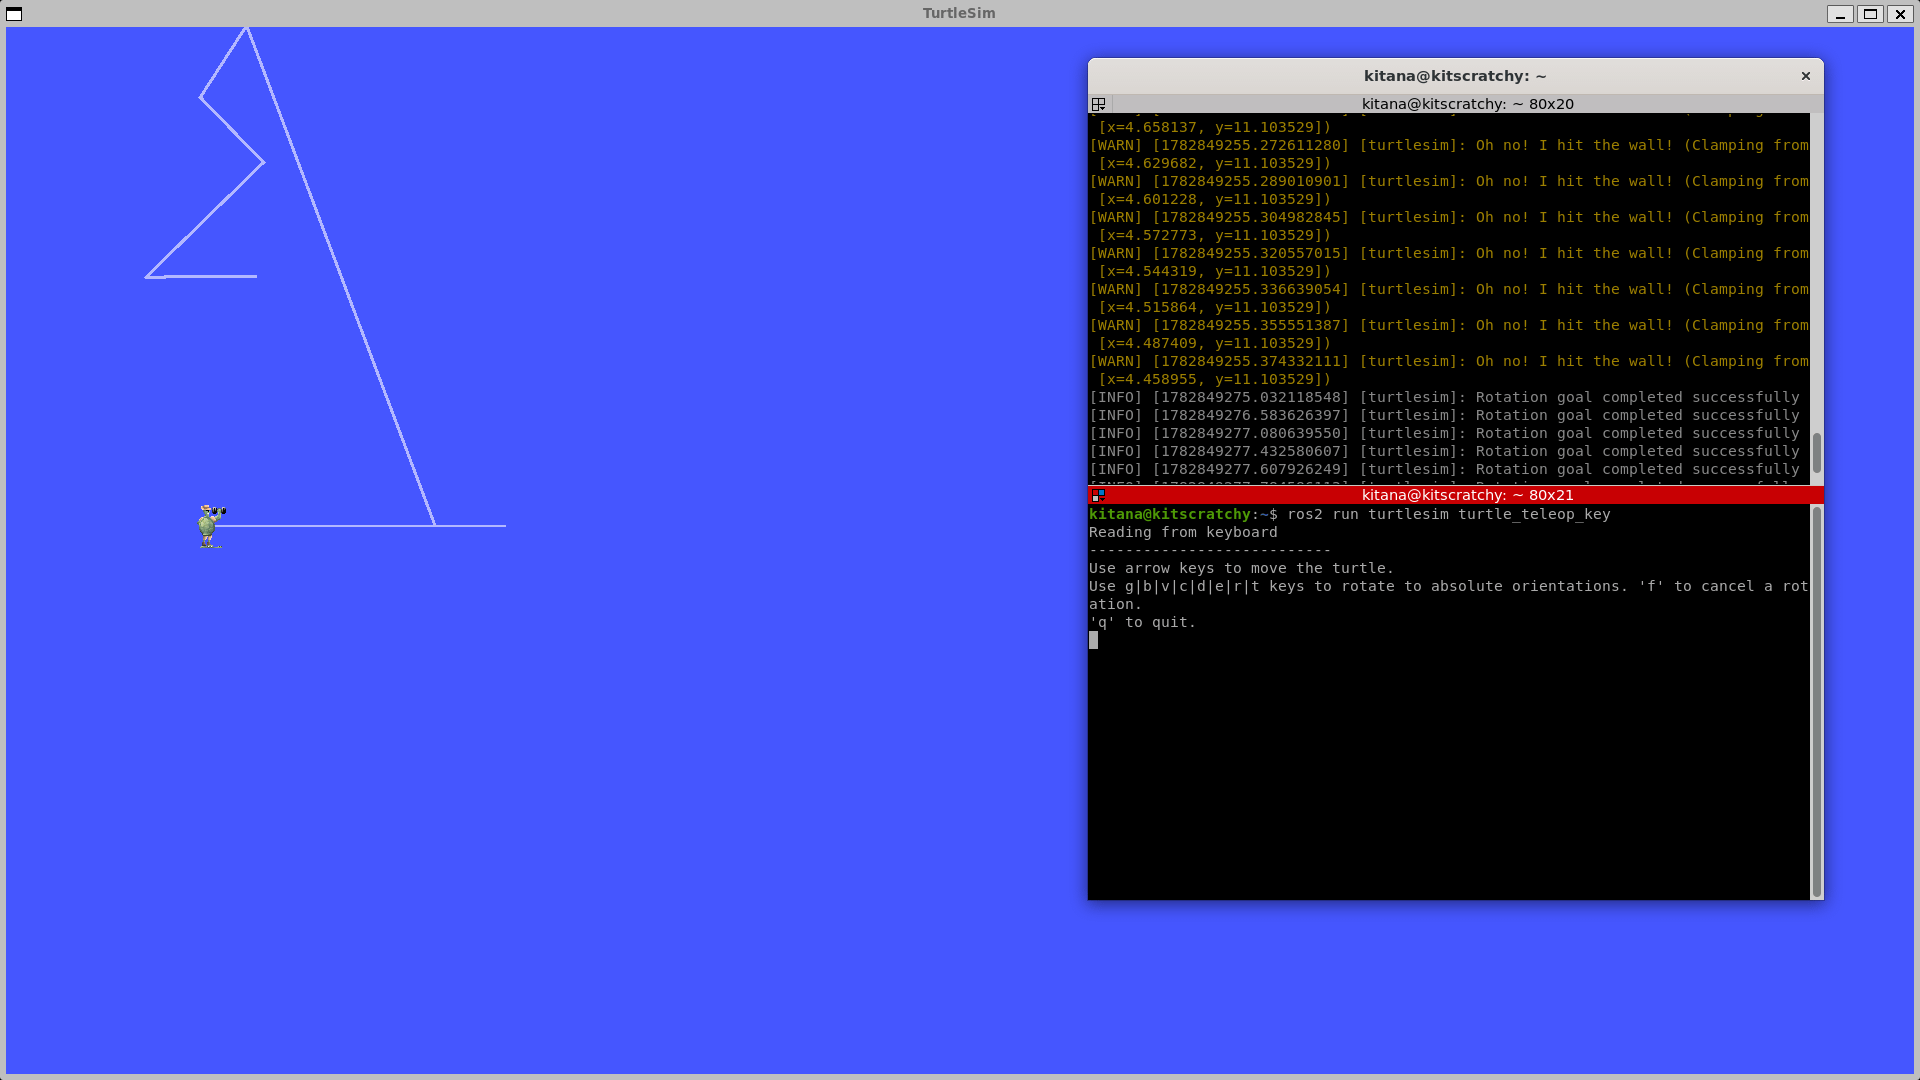
If you can drive the turtle, congratulations! Both the C++ and Python APIs, as well as GUI forwarding, are working perfectly.
Next Steps...
Congratulations! Your system is now fully equipped for modern robotics development.
With your environment sourced, VS Code integrated, and core communication APIs verified, you have a solid foundation. As your next step, it is highly recommended to create your first colcon workspace and dive into the official ROS 2 beginner tutorials to master nodes, topics, and services.
Happy building! 🤖🔧
Appendices: Alternative Installations & Upgrades
Appendix A: How to “Upgrade” to ROS 2 Jazzy
You cannot directly “upgrade” an existing ROS 2 installation (like Humble or Iron) to Jazzy using a simple command. Because ROS distros are strictly tied to specific Ubuntu versions (Humble = 22.04, Jazzy = 24.04).
Scenario 1: You are on Ubuntu 22.04 (Humble)
You must upgrade your OS first.
Backup your workspace (/src folder).
Upgrade OS to 24.04 (Warning: This can break existing ROS Humble setups):
sudo do-release-upgradeInstall Jazzy using the steps in Part 2 above.
Rebuild workspace: Delete the build/, install/, and log/ folders in your workspace, then run colcon build again.
Migrate Code: Check your CMakeLists.txt and package.xml for dependencies, and review the official Jazzy Migration guide for API changes (e.g., changes in ros2_control or QoS settings).
Scenario 2: You are already on Ubuntu 24.04
If you already have Jazzy installed and just want the latest patches:
sudo apt update && sudo apt upgradeAppendix B: Portable Installation via External USB Drive
Lacking hard drive space? Want a portable environment? Install Ubuntu natively on an external drive.
🚨 CRITICAL HARDWARE WARNING 🚨
DO NOT Use Standard USB Flash/Thumb Drives! They use low-grade flash memory with incredibly slow IOPS. Heavy applications like Gazebo, colcon compilation, and ROS bag recording will freeze or crash the OS. Only use an External Solid State Drive (SSD) (e.g., Samsung T7, SanDisk Extreme) connected via USB 3.0 or higher.
Steps to Install:
Prerequisites: You need an 8GB+ flash drive (Drive A - Installer), your External SSD (Drive B - Target OS), and the Ubuntu 24.04 Desktop ISO.
Create Live USB: Use Rufus or BalenaEtcher to flash the ISO to Drive A.
Boot to Installer: Turn off the PC, plug in both drives, boot up, and hit your Boot Menu Key (F12, F11, F8, etc.). Select Drive A.
Partitioning (CRUCIAL): When asked about Installation Type, choose Manual Partitioning / Something Else. (Selecting “Erase disk and install Ubuntu” could automatically overwrite your internal Windows OS!)
Identify your External SSD (Drive B) based on size (e.g., /dev/sdb or /dev/sdc).
Format the partition space on Drive B to ext4 and set the mount point to / (Root directory).
Boot Loader: Change the Device for boot loader installation dropdown at the bottom to match your External Drive B. This ensures Windows remains completely untouched.
Finish installation, reboot, select Drive B from your Boot Menu, and follow Part 2 above!
References & Further Reading:
If you found this guide helpful, hit the ❤️ button below, subscribe for more robotics engineering tutorials, and share this with your lab mates!
I tried setting this up last night and it absolutely made me feel like the death. 😂 This guide completely saved my workspace. It takes a seriously sharp mind to break down Jazzy this clearly. Brilliant write-up!